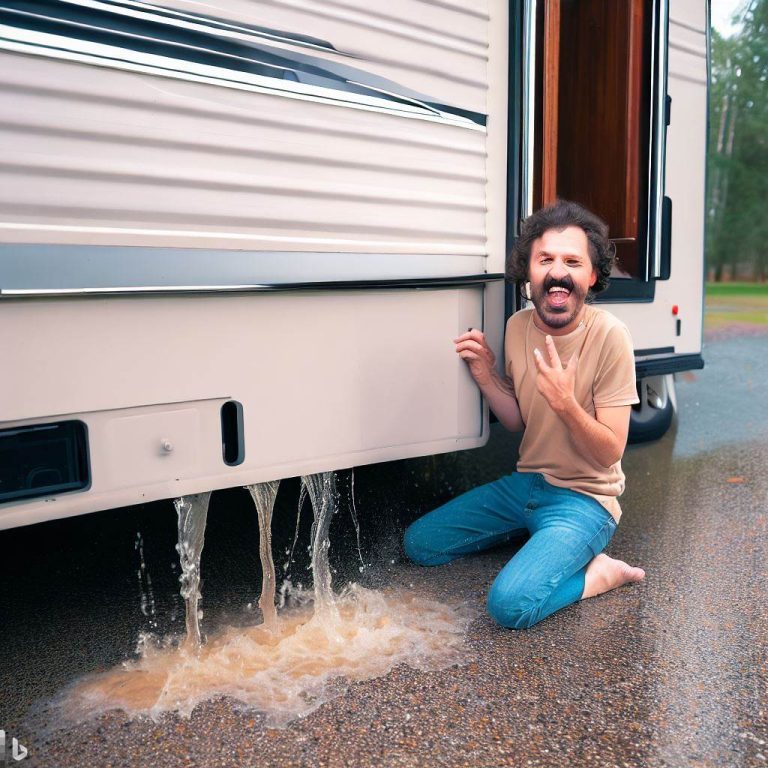
Solving RV Slide-Out Leaks: Common Causes and Fixes
Introduction:
RV slide-outs are fantastic features that provide additional living space and comfort while on the road. However, slide-out leaks can quickly dampen the camping experience. In this article, we will explore the common causes of slide-out leaks in RVs and provide practical solutions to fix and prevent them. By understanding the root causes and implementing effective fixes, you can ensure a dry and enjoyable environment inside your RV.
Section 1: Understanding Slide-Out Leaks
- Identifying the Problem: Learn how to identify slide-out leaks by observing water stains, musty odors, or dampness around the slide-out area. Determining the source of the leak is crucial for implementing the appropriate fix.
- Common Causes: Explore the common causes of slide-out leaks, including worn-out seals, damaged slide-out walls, improper installation, and water intrusion through seams and joints.
Section 2: Fixing Slide-Out Leaks
- Inspecting and Cleaning Seals: Regularly inspect and clean the slide-out seals to remove dirt, debris, and potential obstructions that can compromise their effectiveness. Consider using a silicone-based seal conditioner to maintain the flexibility of the seals.
- Replacing Damaged Seals: If the seals are worn, cracked, or damaged, it’s important to replace them promptly. Learn how to identify the correct seal type and follow step-by-step instructions for a proper seal replacement.
Section 3: Addressing Slide-Out Wall Issues
- Detecting Wall Damage: Examine the slide-out walls for signs of water damage, delamination, or cracks. Addressing these issues is crucial to prevent water from infiltrating the RV.
- Repairing Damaged Walls: Depending on the extent of the damage, repair options may vary from patching cracks and applying sealant to more extensive wall reconstruction. Consult professional RV technicians for complex repairs.
Section 4: Ensuring Proper Slide-Out Installation
- Verifying Alignment and Adjustment: Slide-out misalignment or improper adjustment can contribute to leaks. Learn how to verify the slide-out’s alignment and make necessary adjustments to ensure a tight fit when retracted.
- Sealing Seams and Joints: Apply high-quality sealant to the seams and joints along the slide-out edges, both inside and outside the RV. This creates an additional barrier against water infiltration.
Section 5: Preventive Measures for Slide-Out Leaks
- Regular Maintenance: Implement a routine maintenance schedule to inspect, clean, and lubricate slide-out mechanisms, seals, and moving parts. This helps identify and address potential issues before they lead to leaks.
- Proper Slide-Out Operation: Follow recommended operating procedures for extending and retracting the slide-out, avoiding excessive force or uneven movements that can strain the seals and contribute to leaks.
Conclusion:
Slide-out leaks can be a frustrating challenge for RV owners, but with the right knowledge and proactive measures, they can be effectively addressed. By understanding the common causes of slide-out leaks and implementing appropriate fixes, such as inspecting and replacing seals, addressing wall issues, ensuring proper installation, and practicing preventive maintenance, you can keep your RV slide-out dry and leak-free. Remember to address any leaks promptly to avoid further damage and preserve the integrity of your RV. With these solutions in place, you can enjoy a comfortable and worry-free camping experience.