RV Awning Repair Made Easy: DIY Tips and Techniques
An RV awning is a valuable addition to your home on wheels, providing shade, shelter, and an inviting outdoor space. However, like any component of your RV, awnings can face wear and tear over time. From rips and tears to damaged hardware, awning issues can put a damper on your camping experience. Fortunately, many common RV awning problems can be resolved with a bit of DIY effort. In this article, we’ll guide you through RV awning repair, offering easy-to-follow tips and techniques to help you keep your outdoor haven in top shape.
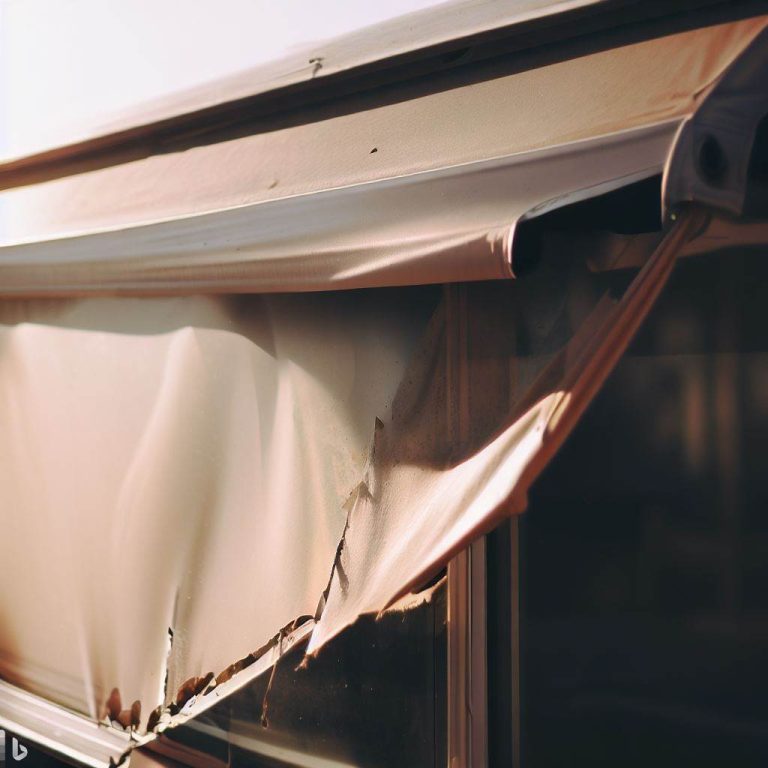
1. Assess the Damage
Before diving into repairs, it’s essential to thoroughly assess the damage to your RV awning. Here are some common issues to look out for:
- Tears or holes in the awning fabric.
- Bent or broken awning arms or support brackets.
- Malfunctioning retracting or extending mechanisms.
- Stains or mildew growth on the fabric.
Understanding the extent of the damage will help you determine the necessary repairs.
2. Repairing Small Tears or Holes in Fabric
If your RV awning fabric has minor tears or holes, you can patch them up using the following method:
- Materials Needed:
- Awning repair tape or patch kit (available at RV supply stores).
- A clean, dry cloth.
- Rubbing alcohol.
- Steps:
- Clean the damaged area with rubbing alcohol to remove dirt and debris.
- Cut a piece of awning repair tape or use a patch from your kit that is slightly larger than the tear or hole.
- Apply the tape or patch over the damaged area, ensuring it adheres securely.
- Press down firmly to remove any air bubbles.
- Allow it to set and cure, following the instructions on the product.
This quick fix will prevent the damage from spreading and extend the life of your awning.
3. Replacing Awning Fabric
If the damage to your awning fabric is extensive, it may be best to replace it entirely. Here’s how to do it:
- Materials Needed:
- Replacement awning fabric (make sure it matches your awning size and type).
- A ladder or scaffold.
- A helper (for safety).
- Screwdriver or drill.
- Wrench or pliers.
- Awning rail lubricant (optional).
- Steps:
- Extend your awning fully and secure it in place.
- Have a helper hold the awning arms to prevent them from retracting during the process.
- Locate the screws or bolts securing the old fabric to the roller tube. Remove them with a screwdriver or drill.
- Carefully remove the old fabric from the roller tube and awning arms.
- Unroll the new fabric and slide it into the awning rail, ensuring it’s centered and aligned.
- Secure the new fabric to the roller tube using the screws or bolts you removed earlier.
- Gradually retract the awning to ensure the fabric rolls up evenly. Make any necessary adjustments to ensure proper tension.
- Lubricate the awning rail if needed to help the fabric slide smoothly.
Replacing the awning fabric might be more time-consuming than patching, but it’s a worthwhile investment for a durable and aesthetically pleasing awning.
4. Fixing Awning Arm and Bracket Issues
If your RV awning arms or support brackets are bent or broken, follow these steps to repair or replace them:
- Materials Needed:
- Replacement awning arms or brackets (if necessary).
- A wrench or pliers.
- Bolts, nuts, and washers (if needed).
- Steps:
- Safely retract your awning and secure it to prevent accidental extension.
- Identify the damaged awning arm or bracket.
- If a bracket is damaged, use a wrench or pliers to remove the bolts and nuts securing it to the RV or roller tube.
- Replace the damaged bracket with a new one and tighten the bolts securely.
- If an awning arm is damaged, follow a similar process. Remove the arm from the bracket and replace it with a new one.
- Ensure all connections are tight and secure before extending the awning again.
5. Preventative Maintenance
The key to avoiding future RV awning repairs is regular maintenance. Here are some tips to keep your awning in excellent condition:
- Regular Cleaning: Clean your awning fabric regularly to remove dirt, debris, and stains. Use a soft brush, mild soap, and water. Avoid using harsh chemicals that can damage the fabric.
- Lubrication: Lubricate moving parts like the awning arms and roller tube with a silicone-based lubricant to prevent rust and ensure smooth operation.
- Avoiding Wind Damage: Retract your awning during strong winds or storms to prevent damage. Always secure it properly when extended.
- Inspect Seals and Fasteners: Check the seals, gaskets, and fasteners on your awning for signs of wear and replace them if necessary to prevent leaks.
- Seasonal Storage: If you won’t be using your RV for an extended period, consider retracting and securing the awning to protect it from the elements.
RV awning repair doesn’t have to be a daunting task. With the right tools, materials, and a bit of DIY spirit, you can address common awning issues like tears, holes, and damaged hardware. Remember to assess the damage carefully and determine whether simple fixes like patching or more extensive repairs like fabric replacement are needed. Regular maintenance and proper care will prolong the life of your RV awning, ensuring it continues to provide shade and shelter during your outdoor adventures for years to come.