Tips for DIY RV Roof Replacement and Repair
Your RV’s roof is its first line of defense against the elements. It shields you from rain, snow, wind, and the scorching sun. Over time, however, even the sturdiest RV roofs may develop wear and tear, leading to leaks and other issues. Roof replacement or repair can be a costly endeavor, but with some DIY know-how and careful planning, you can tackle this project yourself and save both money and time. In this article, we’ll provide you with essential tips and guidance for DIY RV roof replacement and repair.
1. Assess the Damage
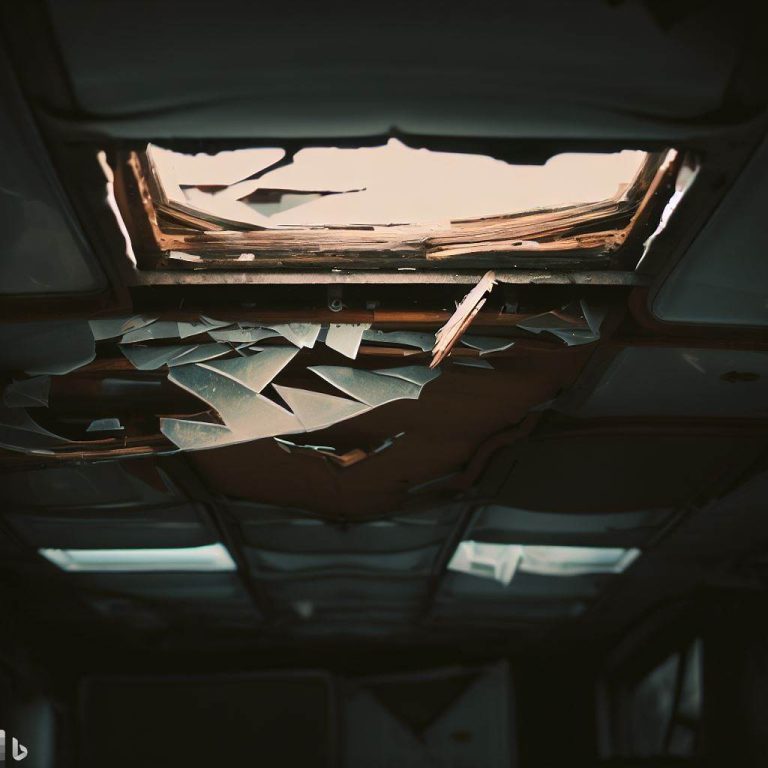
The first step in any RV roof project is to assess the damage. Carefully inspect your roof for cracks, holes, punctures, or any signs of wear and tear. Look for water stains inside your RV, which can indicate roof leaks. The type and extent of damage will determine whether you need a simple repair or a full roof replacement.
2. Safety First
Before you begin any DIY project, safety should be your top priority. When working on your RV’s roof:
- Use a sturdy and properly secured ladder.
- Wear appropriate safety gear, including gloves, safety goggles, and non-slip shoes.
- Make sure the roof is clean and dry to prevent slips and falls.
- If you’re working with tools or materials that require specific safety measures, like adhesives or sealants, follow the manufacturer’s guidelines.
3. Gather the Necessary Tools and Materials
To perform a DIY RV roof replacement or repair, you’ll need the right tools and materials. Here’s a basic list to get you started:
Tools:
- Screwdriver and drill
- Utility knife
- Caulking gun
- Paint roller or brush
- Scraper or putty knife
- Wire brush or sandpaper
- Tape measure
Materials:
- RV roof membrane or repair kit (depending on the extent of damage)
- Roofing adhesive or sealant
- Eternabond tape or similar sealant tape
- Butyl tape
- Roof vent sealant (if applicable)
- Roof sealant primer (if required by the membrane manufacturer)
- Roof vent covers (if replacing vents)
Make sure to purchase materials suitable for your RV’s roof type (e.g., rubber, fiberglass, TPO, or aluminum).
4. Choose the Right Replacement or Repair Method
The method you choose depends on the extent of the damage and your skills. For minor issues like small punctures or cracks, a DIY repair kit might suffice. However, if your RV’s roof is extensively damaged or nearing the end of its lifespan, a complete roof replacement may be necessary.
5. Repairing Small Punctures and Cracks
If you’re dealing with minor punctures and cracks, follow these steps for a DIY repair:
- Clean the Area: Remove any debris, dirt, or loose material from the damaged area. Clean the surface with a suitable cleaner and allow it to dry completely.
- Apply a Sealant: Use a high-quality roof sealant to fill the puncture or crack. Ensure the sealant covers the damaged area and extends slightly beyond it.
- Apply Eternabond Tape: To reinforce the repair, apply Eternabond tape over the sealed area. Press it firmly to ensure a secure bond.
- Inspect and Test: Allow the sealant and tape to cure as per the manufacturer’s instructions. Inspect the repair for any gaps or imperfections. Perform a water test by spraying the repaired area with a hose to check for leaks.
6. Replacing Damaged Roof Membrane
If your RV’s roof membrane is extensively damaged or worn out, you might need to replace it. Here’s a simplified guide to DIY RV roof membrane replacement:
- Remove Fixtures and Vents: Start by removing any roof fixtures, vents, and antennas. This will allow you to work on the roof membrane more easily.
- Clean and Prep the Roof: Clean the entire roof surface thoroughly, removing old sealant, adhesive, and debris. If needed, use a roof sealant primer to prepare the surface for the new membrane.
- Install New Roof Membrane: Roll out the new roof membrane over the cleaned and prepped roof surface. Ensure it is centered and positioned correctly. Use an adhesive recommended by the membrane manufacturer to secure it in place.
- Smooth and Trim: Carefully smooth out any wrinkles or bubbles in the membrane as you go. Trim excess membrane from the edges using a utility knife.
- Reattach Fixtures and Vents: Once the membrane is in place and secured, reinstall roof fixtures, vents, and antennas. Apply a generous amount of roof sealant around these fixtures to ensure a watertight seal.
- Seal the Seams: Apply seam tape or sealant along the edges and seams of the membrane to prevent water infiltration.
- Inspect and Test: Allow the adhesive and sealant to cure as per the manufacturer’s instructions. Inspect the entire roof for any missed spots or imperfections. Conduct a water test to check for leaks.
7. Regular Maintenance
After your DIY RV roof repair or replacement, establish a regular maintenance routine. Inspect your roof at least once a year for any signs of damage or wear and tear. Promptly address any issues to prevent further damage and costly repairs.
8. Consider Professional Help
While DIY RV roof repair and replacement can save you money, there may be situations where professional assistance is necessary. If you’re uncomfortable working on a roof or dealing with extensive damage, it’s best to consult with an RV service professional who can provide expert guidance and perform the repairs safely and effectively.
Your RV’s roof is its primary defense against the elements, making its maintenance and repair crucial for your safety and comfort. With the right tools, materials, and know-how, you can successfully tackle DIY RV roof repairs and replacements. Regular inspections, prompt repairs, and preventive maintenance will ensure your RV roof remains in top condition, allowing you to enjoy countless adventures on the open road with peace of mind.