How to Test Your RV Battery Charging System
Introduction:
A properly functioning battery charging system is essential for a reliable and enjoyable RV experience. Whether you’re planning a weekend getaway or a long road trip, it’s crucial to ensure that your RV’s battery charging system is operating efficiently. In this article, we will guide you through the process of testing your RV battery charging system to help you identify any issues and ensure optimal performance.
Section 1: Importance of a Well-Functioning Battery Charging System
Before diving into the testing process, let’s understand why a well-functioning battery charging system is crucial for your RV. The battery charging system powers various components, including lights, appliances, and onboard systems. Without a reliable charging system, you may face power shortages, which can disrupt your trip and compromise your comfort.
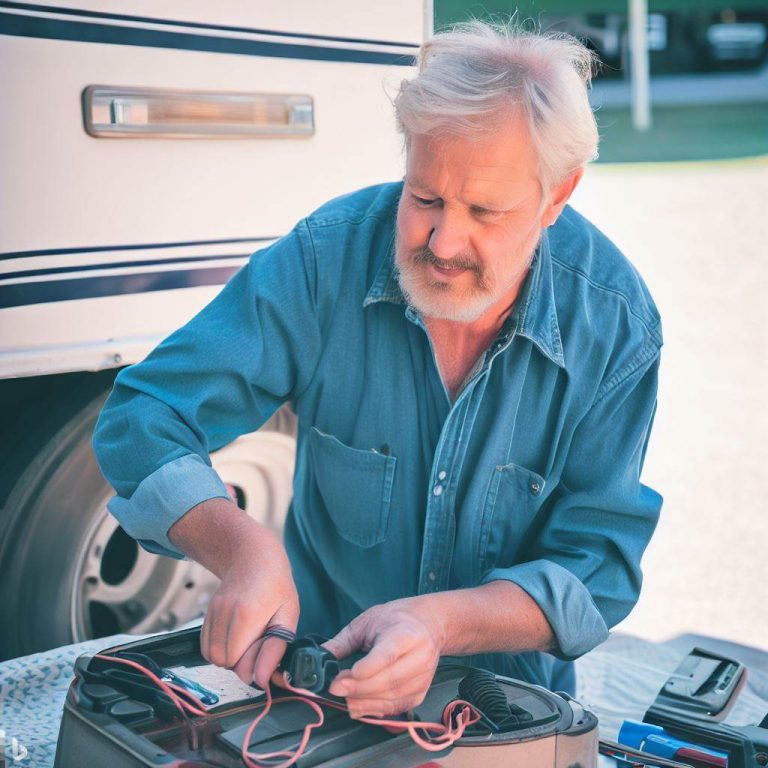
Section 2: Preparations for Testing
To begin testing your RV’s battery charging system, make sure you have the following tools and equipment handy:
- Multimeter: This device measures electrical parameters, including voltage and current, and is essential for testing your battery charging system.
- Safety Gear: Wear appropriate safety gear, such as gloves and safety glasses, to protect yourself while working with electrical components.
Section 3: Testing the Battery Voltage
The first step in assessing your RV’s battery charging system is to measure the battery voltage. Here’s how you can do it:
- Turn off all electrical components in your RV, including lights, appliances, and the engine.
- Set your multimeter to the DC voltage setting and connect the positive (red) probe to the battery’s positive terminal and the negative (black) probe to the negative terminal.
- Read and note the voltage displayed on the multimeter. A fully charged battery should typically read around 12.6 to 12.8 volts. If the voltage is significantly lower, it may indicate a battery issue or insufficient charging.
Section 4: Checking Alternator Output
The alternator is responsible for charging the RV’s battery while the engine is running. Here’s how you can test the alternator’s output:
- Start your RV’s engine and let it idle for a few minutes to warm up.
- Set your multimeter to the DC voltage setting and connect the positive (red) probe to the battery’s positive terminal and the negative (black) probe to a clean, grounded metal surface.
- Note the voltage reading displayed on the multimeter. It should typically read around 13.5 to 14.8 volts. If the voltage is significantly lower or higher, it may indicate an alternator problem.
Section 5: Evaluating Battery Charging Process
To assess the efficiency of your battery charging process, you can perform a few additional tests:
- Load Test: Disconnect any external power sources from your RV, such as shore power or solar panels. Turn on several electrical components inside the RV, such as lights and fans, to create a load. Monitor the battery voltage with the multimeter. If the voltage drops rapidly and significantly, it may suggest an issue with the battery or charging system.
- Charging Duration: Measure the battery voltage at regular intervals while the RV’s engine is running. Ideally, the voltage should increase gradually, indicating that the battery is being charged. If the voltage remains constant or decreases, it may indicate a problem with the charging system.
Section 6: Troubleshooting and Next Steps
If you discover any issues during the testing process, it’s important to take appropriate actions. Here are some troubleshooting steps and next steps to consider:
- Inspect Connections: Check the battery terminals and charging system connections for any corrosion, loose wires, or damage. Clean and tighten connections as necessary.
- Consult a Professional: If you’re unsure about any aspect of the testing process or if you suspect a more complex issue, it’s best to consult a qualified RV technician or electrician. They can diagnose the problem accurately and provide appropriate solutions.
- Regular Maintenance: To prevent battery charging system issues, follow a regular maintenance routine. This includes checking the battery fluid levels, cleaning terminals, and ensuring proper ventilation around the battery compartment.
Conclusion:
Testing your RV’s battery charging system is a vital step in ensuring a trouble-free journey and a reliable power supply. By following the steps outlined in this article, you can assess the health of your battery, evaluate the alternator’s output, and identify any potential issues with the charging system. Remember to perform regular maintenance and seek professional assistance when needed to keep your RV’s battery charging system in optimal condition. Enjoy your adventures with peace of mind, knowing that your battery charging system is in good shape.