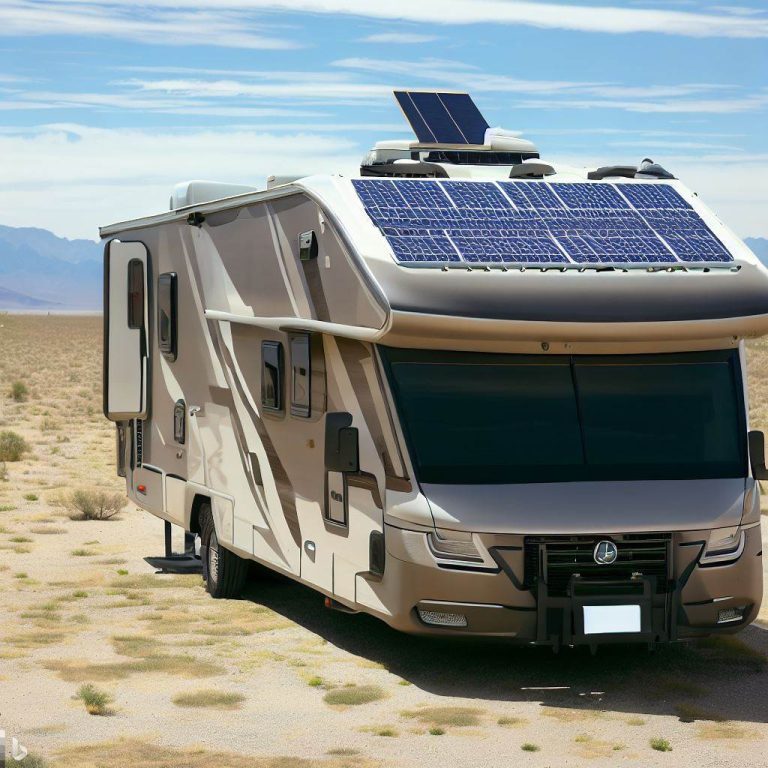
Converting Your RV to Solar Power: Benefits and Installation Guide
Embracing the freedom of the open road while reducing your carbon footprint is now more achievable than ever with the option to convert your RV to solar power. This eco-friendly solution not only grants you the independence to explore off-grid destinations but also contributes to a sustainable future. In this article, we’ll explore the numerous benefits of transitioning to solar power for your RV and provide you with a comprehensive installation guide.
Benefits of RV Solar Power Conversion
- Energy Independence: Solar power offers the freedom to venture into remote areas without worrying about finding electrical hookups. By harnessing the sun’s energy, you’re no longer tied to traditional power sources, allowing you to experience a new level of RVing.
- Cost Savings: While the initial investment might seem substantial, converting your RV to solar power can lead to significant long-term savings. You’ll reduce or even eliminate campground fees and lower your reliance on expensive fuel generators.
- Environmental Impact: By using solar energy, you’re contributing to a cleaner environment by reducing greenhouse gas emissions. RV solar power systems have a minimal carbon footprint and help preserve the beauty of the natural landscapes you explore.
- Quiet and Maintenance-Free: Solar panels generate electricity without producing noise or requiring constant maintenance. This means you can enjoy a peaceful atmosphere during your travels without the hassle of maintaining noisy generators.
- Increased Flexibility: Solar-equipped RVs provide flexibility to extend your stays in breathtaking locations. You’ll have the power you need for lighting, appliances, and electronics without worrying about depleting your energy reserves.
Installation Guide
Step 1: Calculate Your Energy Needs
Before diving into the installation process, assess your energy consumption. Consider the appliances and electronics you use regularly, their power ratings, and how many hours you use them each day. This assessment will help you determine the size of the solar system you need.
Step 2: Gather the Necessary Components
To convert your RV to solar power, you’ll need the following components:
- Solar panels
- Charge controller
- Deep-cycle batteries
- Inverter (if you plan to power AC devices)
- Wiring, fuses, and connectors
Ensure you purchase high-quality components from reputable suppliers to guarantee the efficiency and reliability of your system.
Step 3: Solar Panel Installation
- Select Mounting Location: Find a suitable location for your solar panels on the roof of your RV. Optimal positions are areas that receive the most sunlight without being obstructed by roof fixtures.
- Clean and Prepare Roof Surface: Clean the mounting area thoroughly and ensure it’s free from dirt and debris. Apply a sealant to the mounting points to prevent leaks.
- Mount the Panels: Attach the panels securely to the roof using appropriate brackets or mounts. Follow the manufacturer’s guidelines for proper installation.
Step 4: Install Charge Controller and Batteries
- Mount Charge Controller: Install the charge controller inside your RV. This device regulates the amount of power flowing from the solar panels to the batteries, preventing overcharging.
- Connect Batteries: Wire your deep-cycle batteries in parallel or series, depending on the voltage requirements of your RV. Connect the batteries to the charge controller following the provided instructions.
Step 5: Connect the Inverter (if needed)
If you intend to power AC devices, you’ll need an inverter. Connect the inverter to your batteries and follow safety guidelines while wiring the system. Some inverters can also be connected directly to the RV’s electrical panel for seamless integration.
Step 6: Wiring and Testing
- Wiring: Connect the solar panels, charge controller, batteries, and inverter using appropriate wiring and connectors. Ensure all connections are secure and well-insulated.
- Testing: Before sealing any connections, test the system to ensure it’s working correctly. Monitor the charge controller and check the power output on sunny days to ensure optimal performance.
Step 7: Monitor and Maintain
Regularly monitor your solar power system’s performance, checking for any issues or drops in energy output. Keep the solar panels clean to maximize efficiency, and perform routine maintenance on batteries and other components as recommended by the manufacturers.
Conclusion
Converting your RV to solar power is a transformative journey that enhances your travel experience while minimizing your environmental impact. By harnessing the power of the sun, you gain the freedom to explore off-grid destinations and reduce your reliance on traditional power sources. With careful planning and installation, you can enjoy the benefits of a self-sustaining energy system that empowers your travels and contributes to a greener planet.